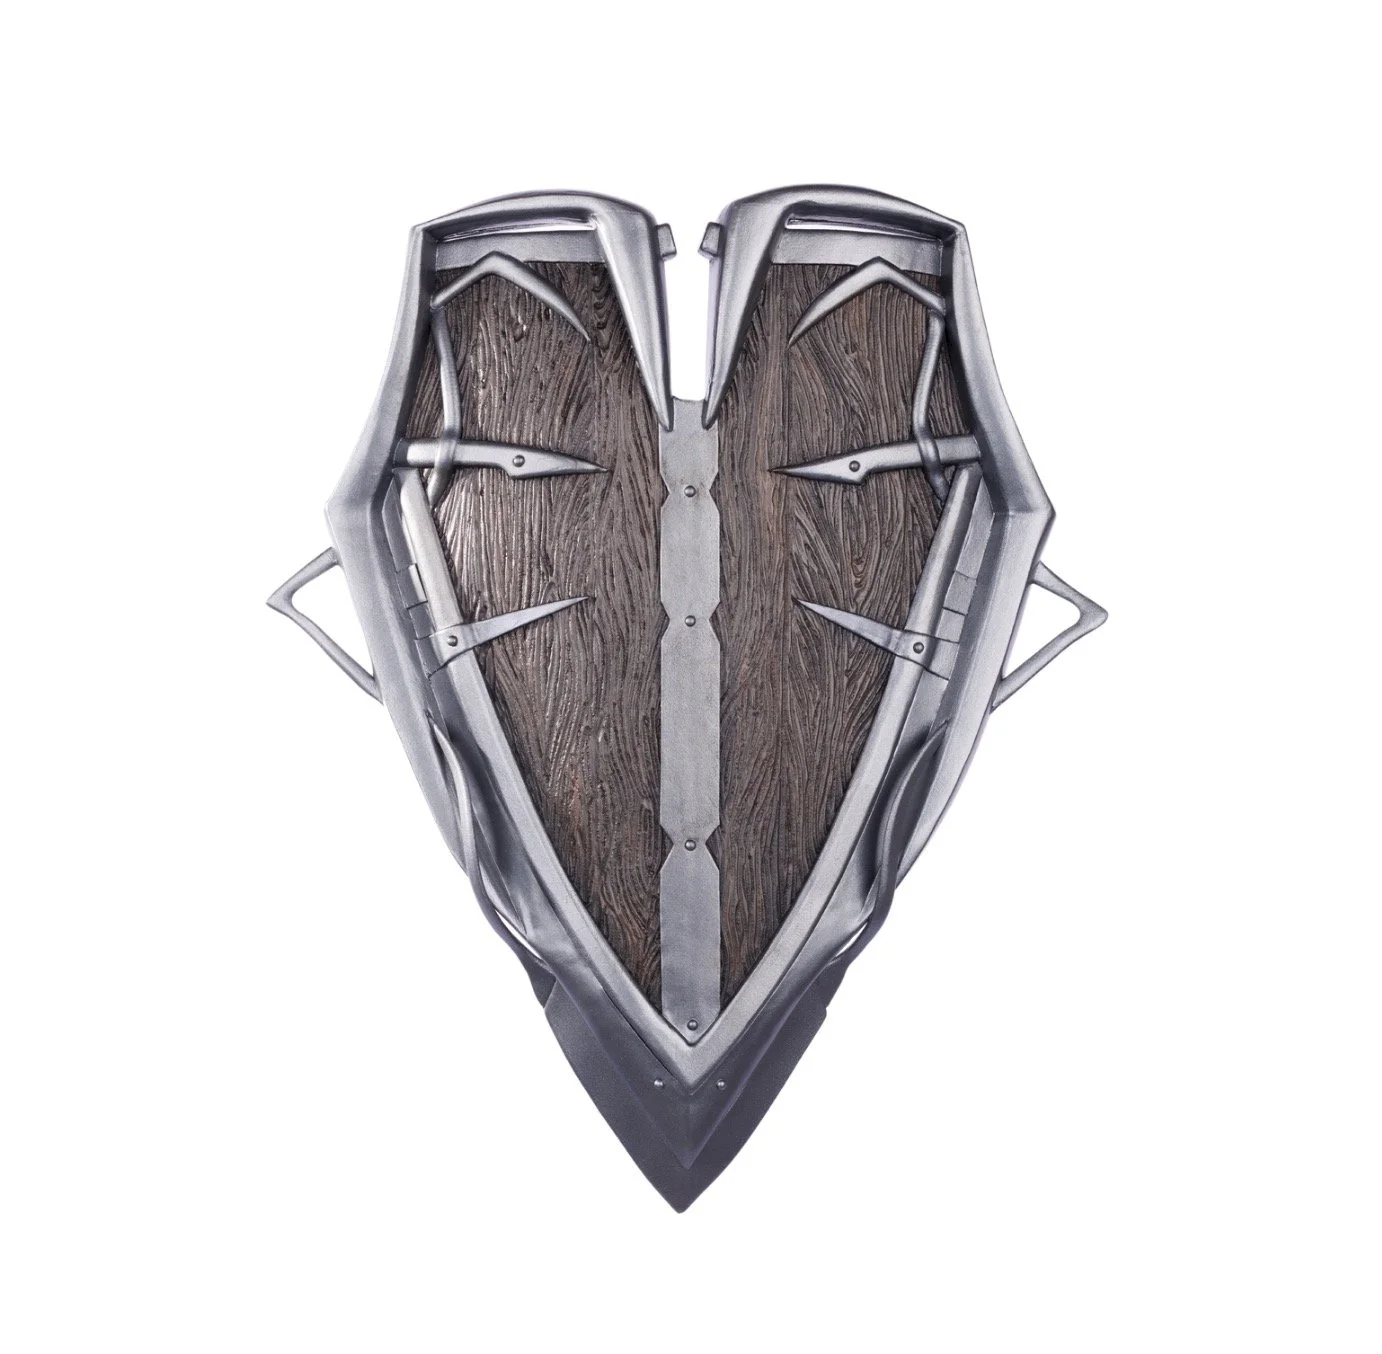
The Shield
This project was sponsored by Plasti Dip
A very special thanks to Plasti Dip, who generously sponsored this project!

I used their new line of Craft products for this project. The silver Armor color was just what I needed, and the coverage is incredible. I will share my tips and tricks for working with this amazing line of flexible rubber paint throughout this write-up.
(As of this article being published), the Plasti Dip Craft line is sold exclusively online at https://plastidip.com/product/plastidip-craft/ with free shipping! Check it out for current pricing, shipping details, etc.


Patterning
The shield I wanted to make has some really great armored parts, with some very cool design elements. I scaled the shield down and printed it to a size that would fit inside a suitcase so I can travel with it! Then I started cutting the pieces apart to begin the assembly process.


Making the Base Shape
I began by gluing several pieces of EVA foam together so I could carve the edges.

When using contact cement to glue EVA foam, always wear PPE (gloves and organic-vapor rated respirator and cartridges)


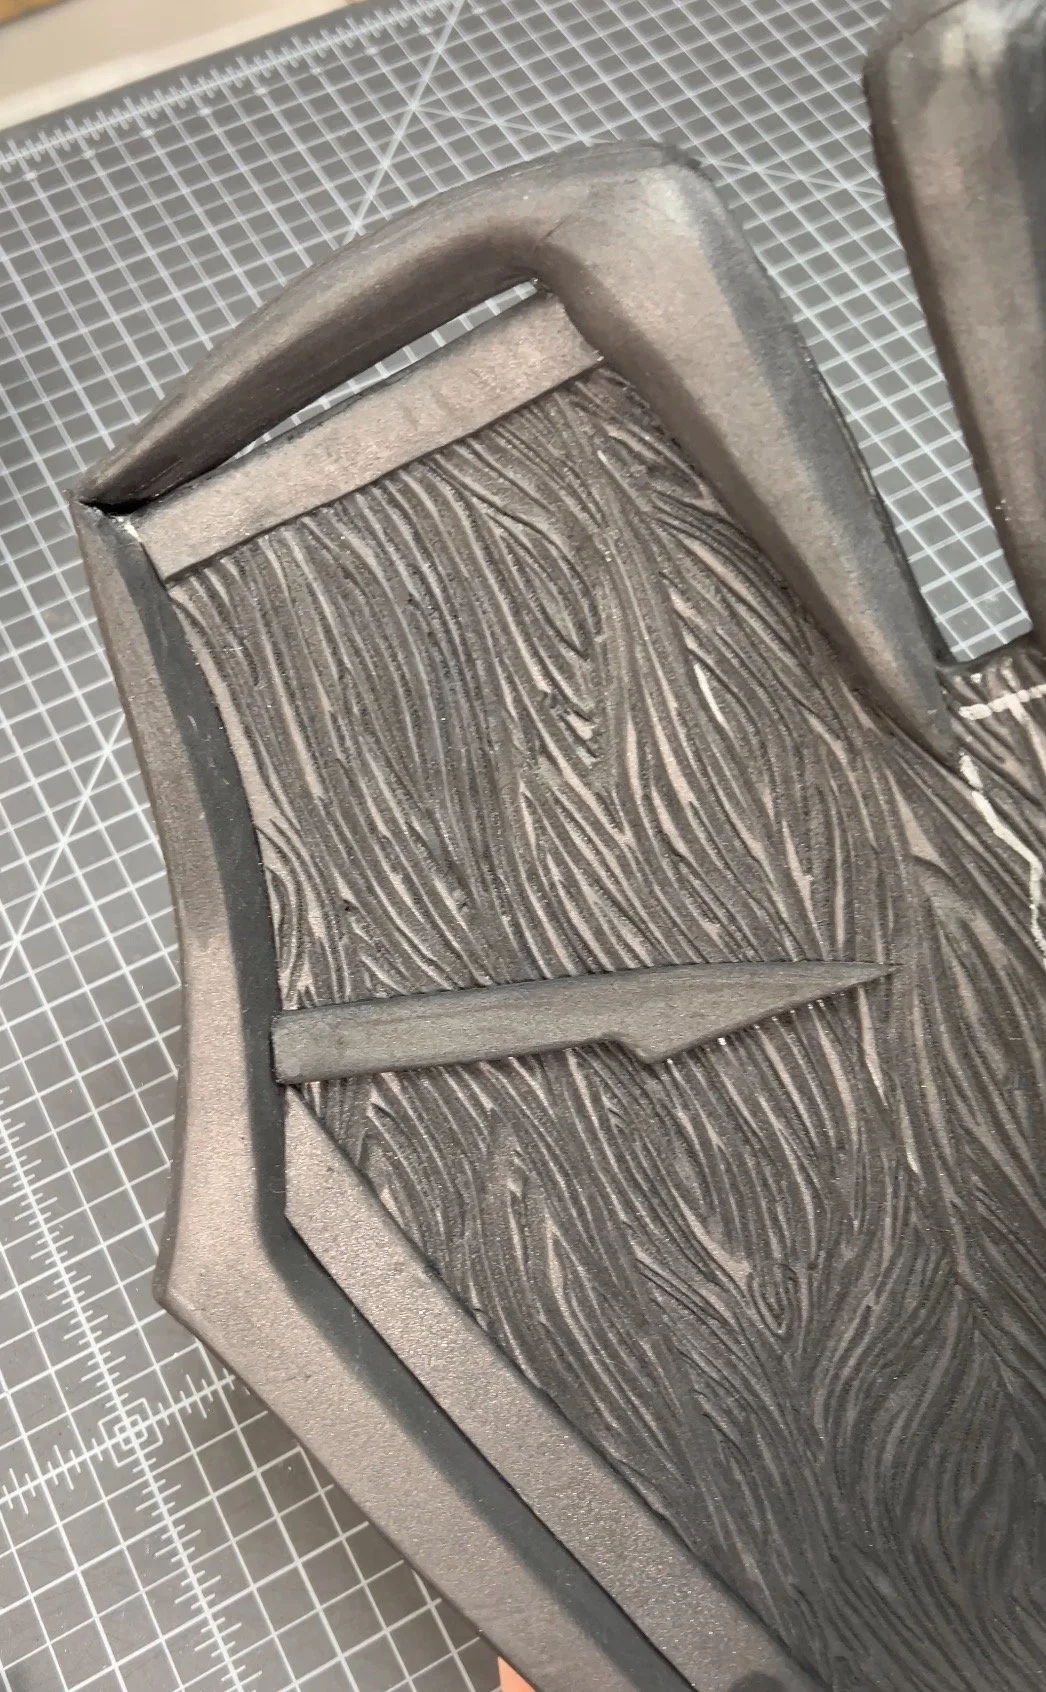
Adding Wood Texture
I used a rotary tool to add a wood texture to the front and back of the shield base. Then I embedded some floral wire around the edges to help promote a nice curve on the shield. These will be hidden by more EVA foam on additional layers.


Adding Layers
Additional layers were added using various thicknesses of EVA foam. This is one of my favorite parts of a build - it’s like figuring out a puzzle!


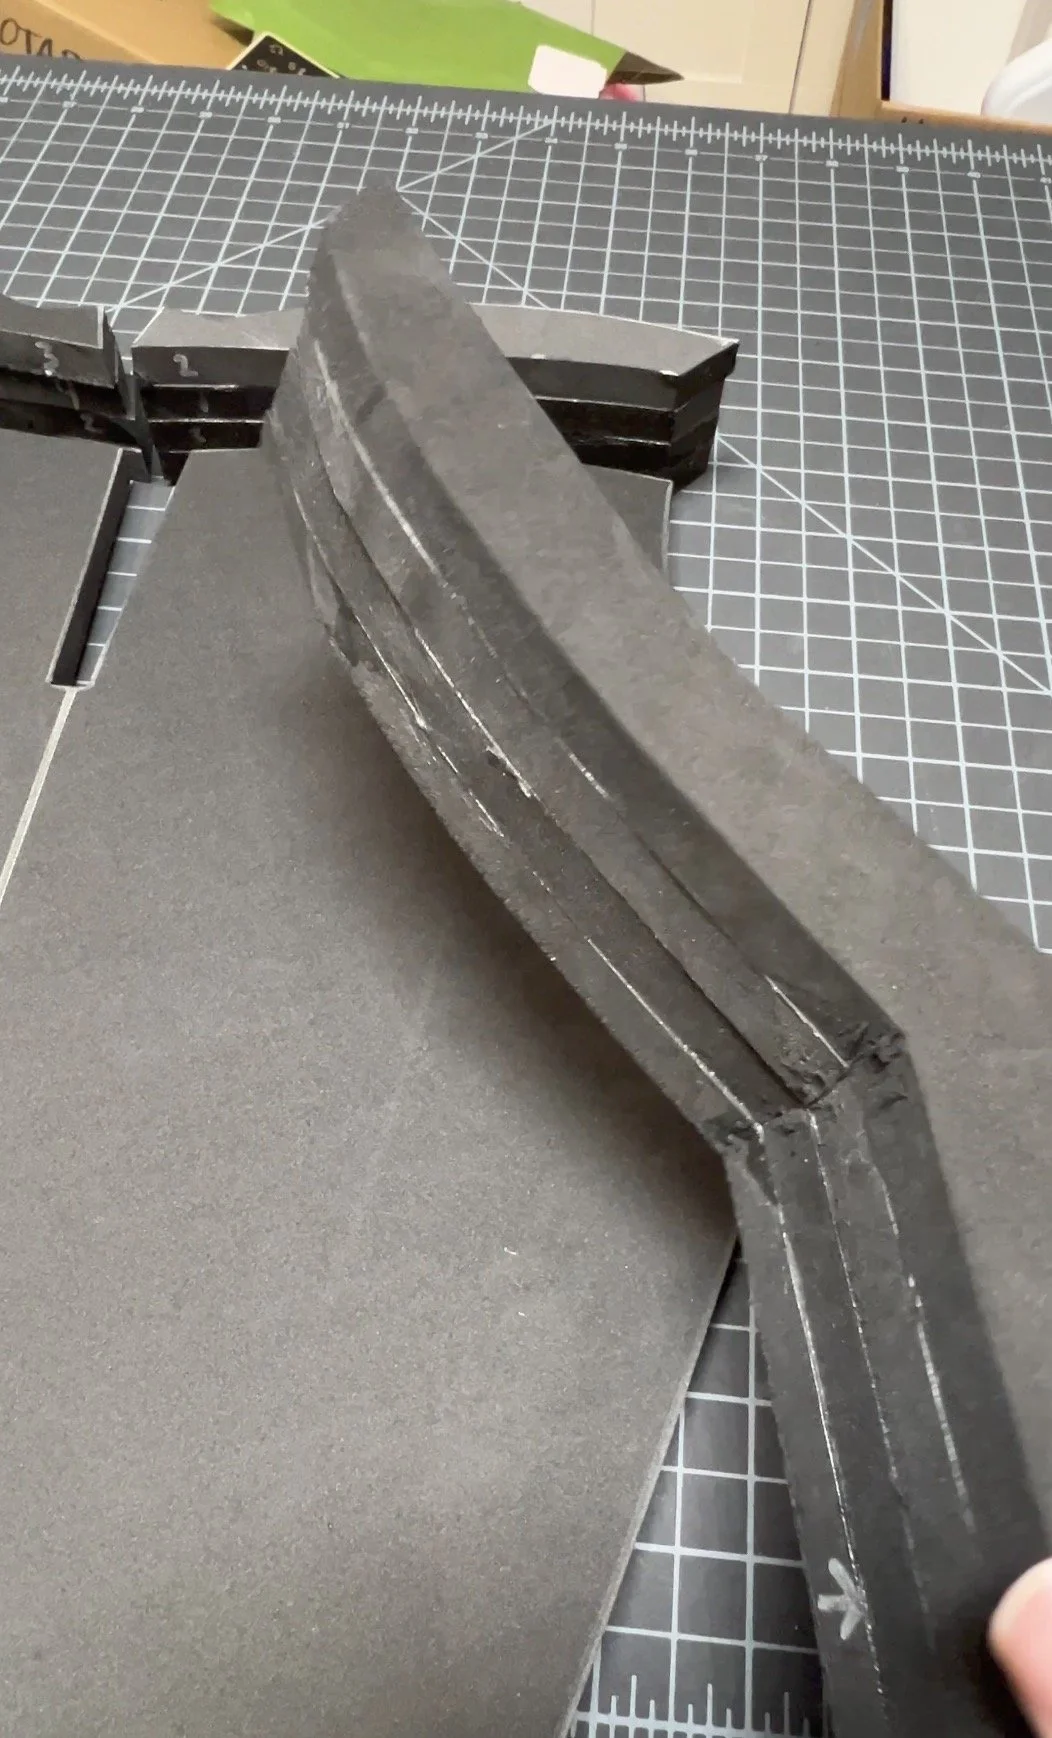
Carving and Refining
This part of the project took the longest! There was a lot of carving and patterning and gluing.. and repeat. I pivoted a few times to save some steps and to reduce the amount of sanding I’ll need to do. The Plasti Dip that I am going to use will help seal these areas.

Using the grinding stone to round out an edge of EVA foam

Carving down an edge on the shield front

Carved!

Polishing with the grinding stone to try to reduce the roughness

All polished but the glue gap is very obvious.
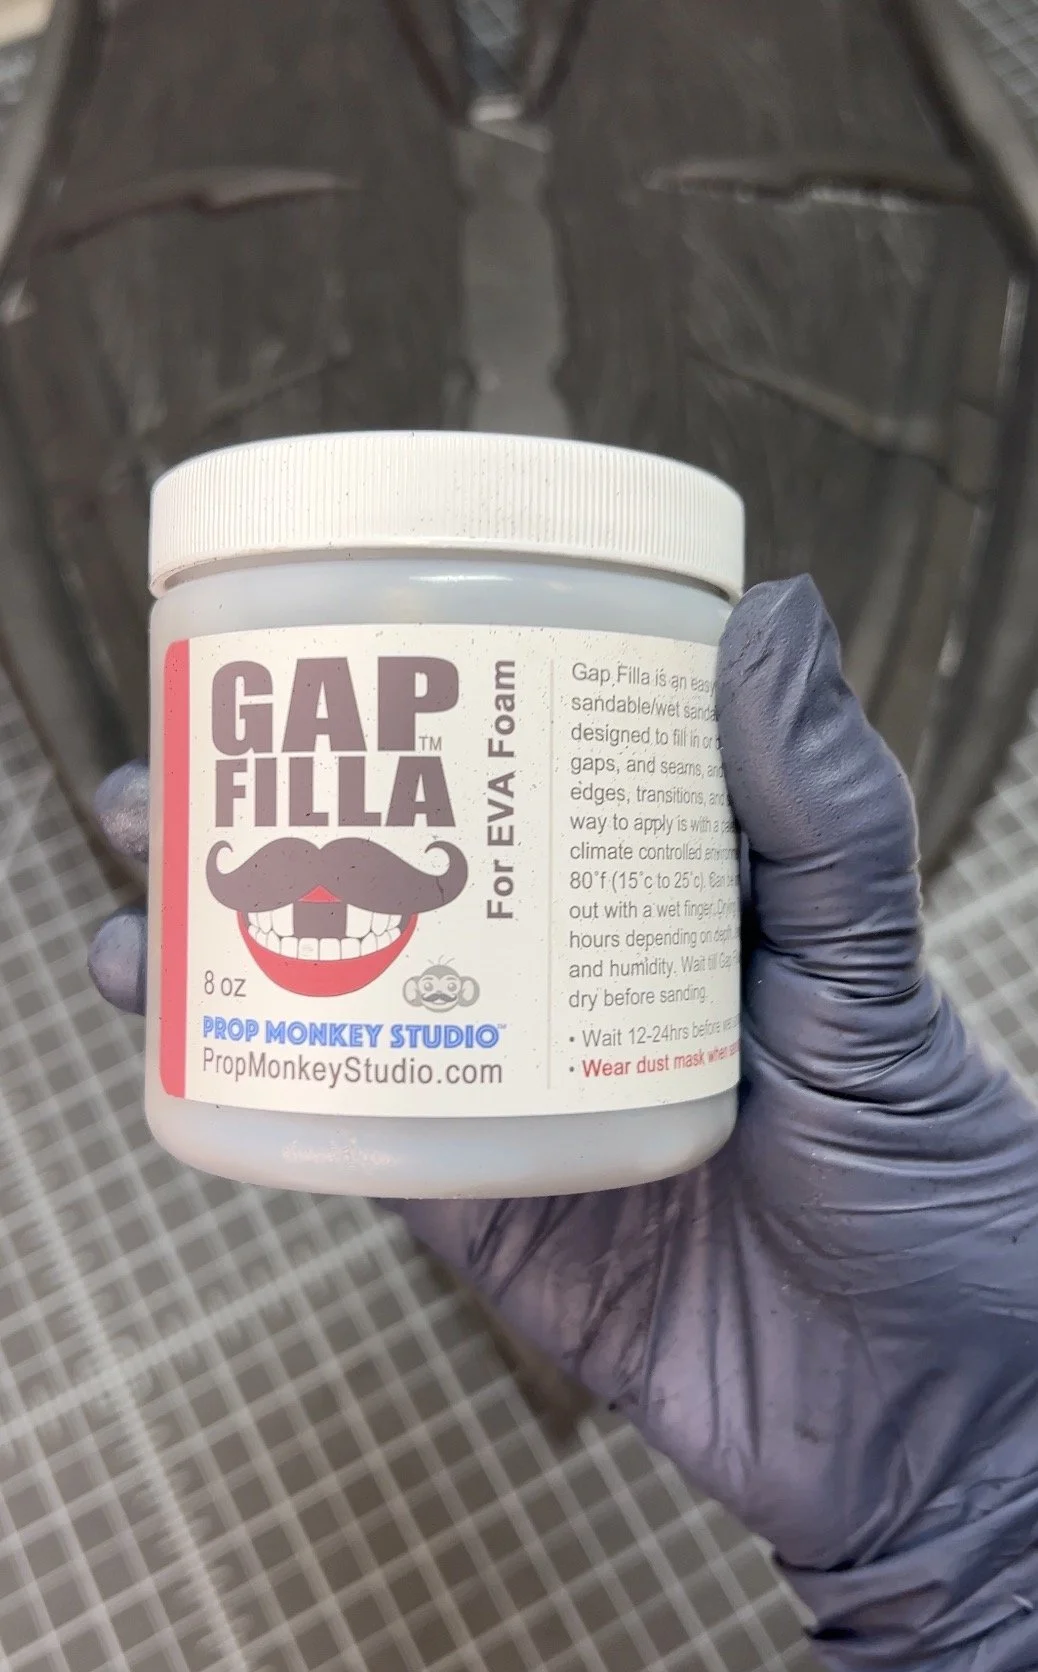
I decided to try Gap Filla to smooth out the gaps.

Applying the Gap Filla

The Gap Filla is all smoothed out but I'm realizing it would just be easier at this point to cover this area with thin EVA foam.
Here is the same area but now with a "skin" of EVA foam. This is better than sanding!

More layers!

Adding more layers

Using contact cement to glue it down

After! Looking clean already!

I had applied Gap Filla to some of the other areas that are too complex to "skin" with EVA foam. Here I am sanding down the area using sandpaper attached to a paint stick.

More sanding of that area

Trust the process

Almost there!


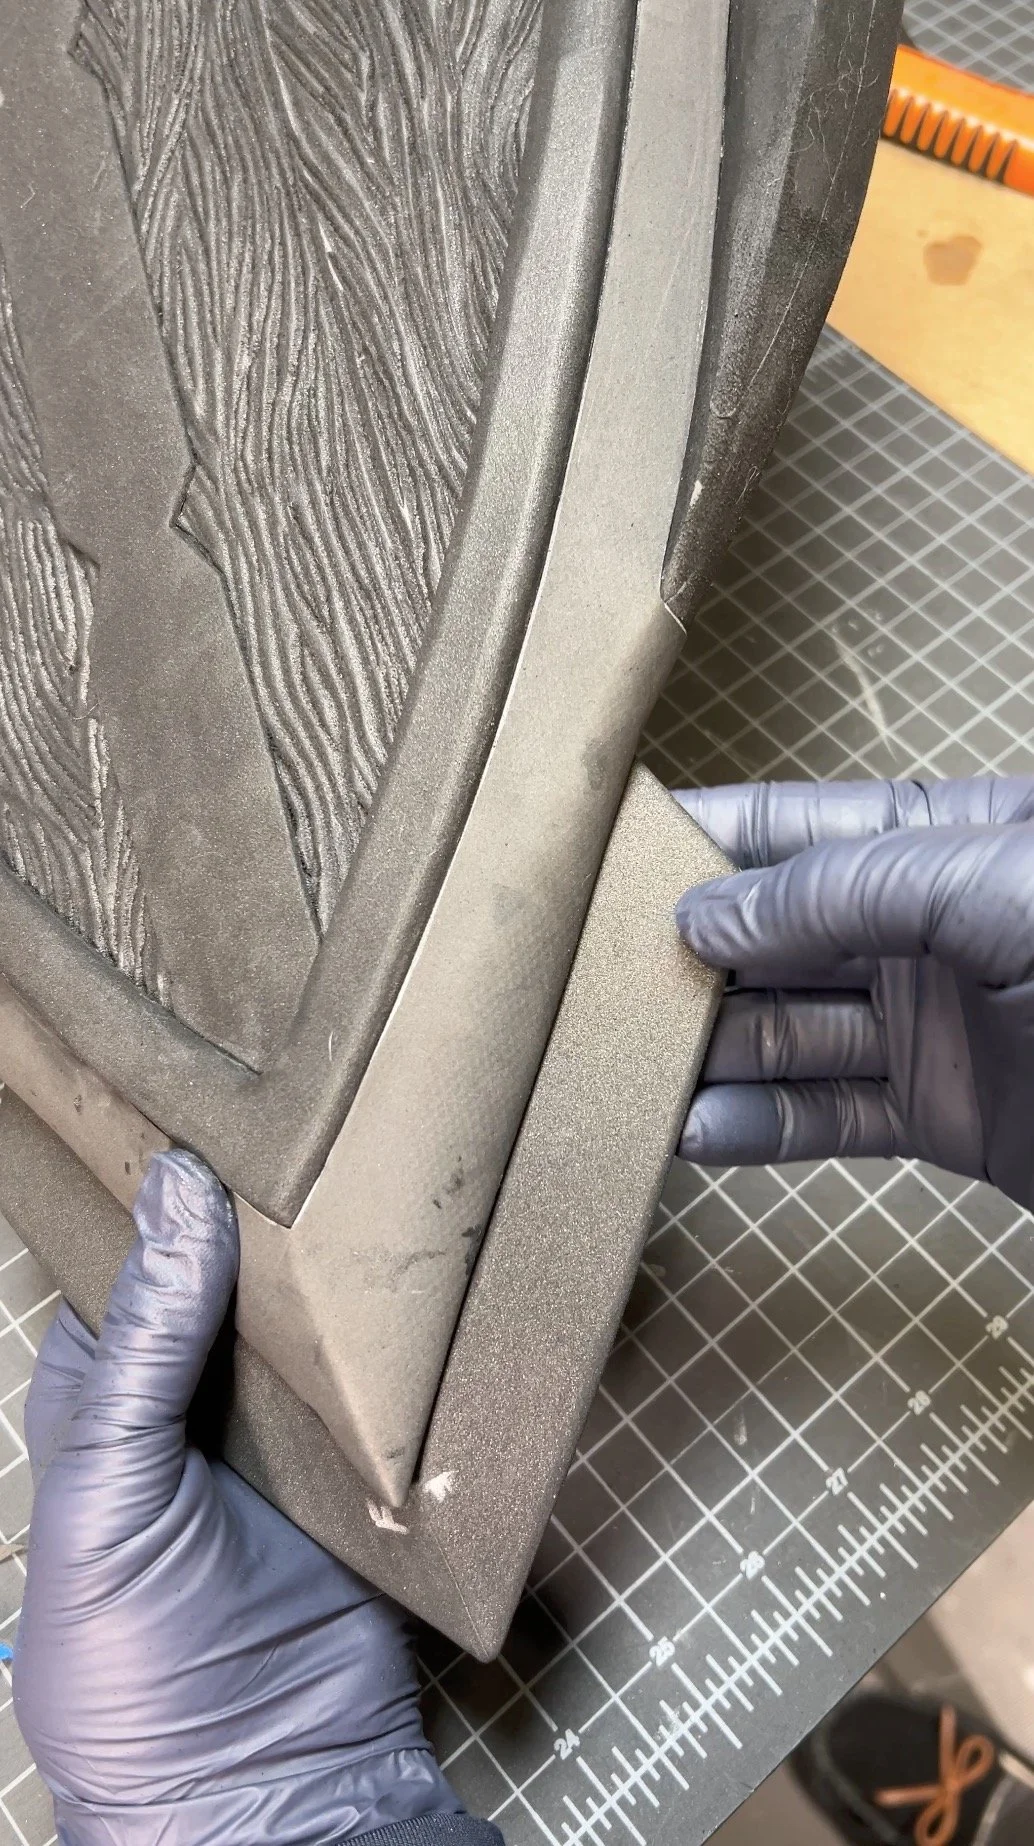
Removing Seams
To reduce the seam lines and improve the surface, I used Rapid Fill and Gap Filla. I tried a new-to-me technique of physically removing the seam in my EVA foam shield, and filling it, and IT WORKED!
Steps I will be using from now on for stubborn seams:
1. Sanding overall surface
2. Remove seams
3. Polish surface with Grinding stone
4. Heat seal
5. Apply gap filla
6. Sand gap filla
7. Apply rapid fill
8. Sand rapid fill
9. Several layers of plastidip
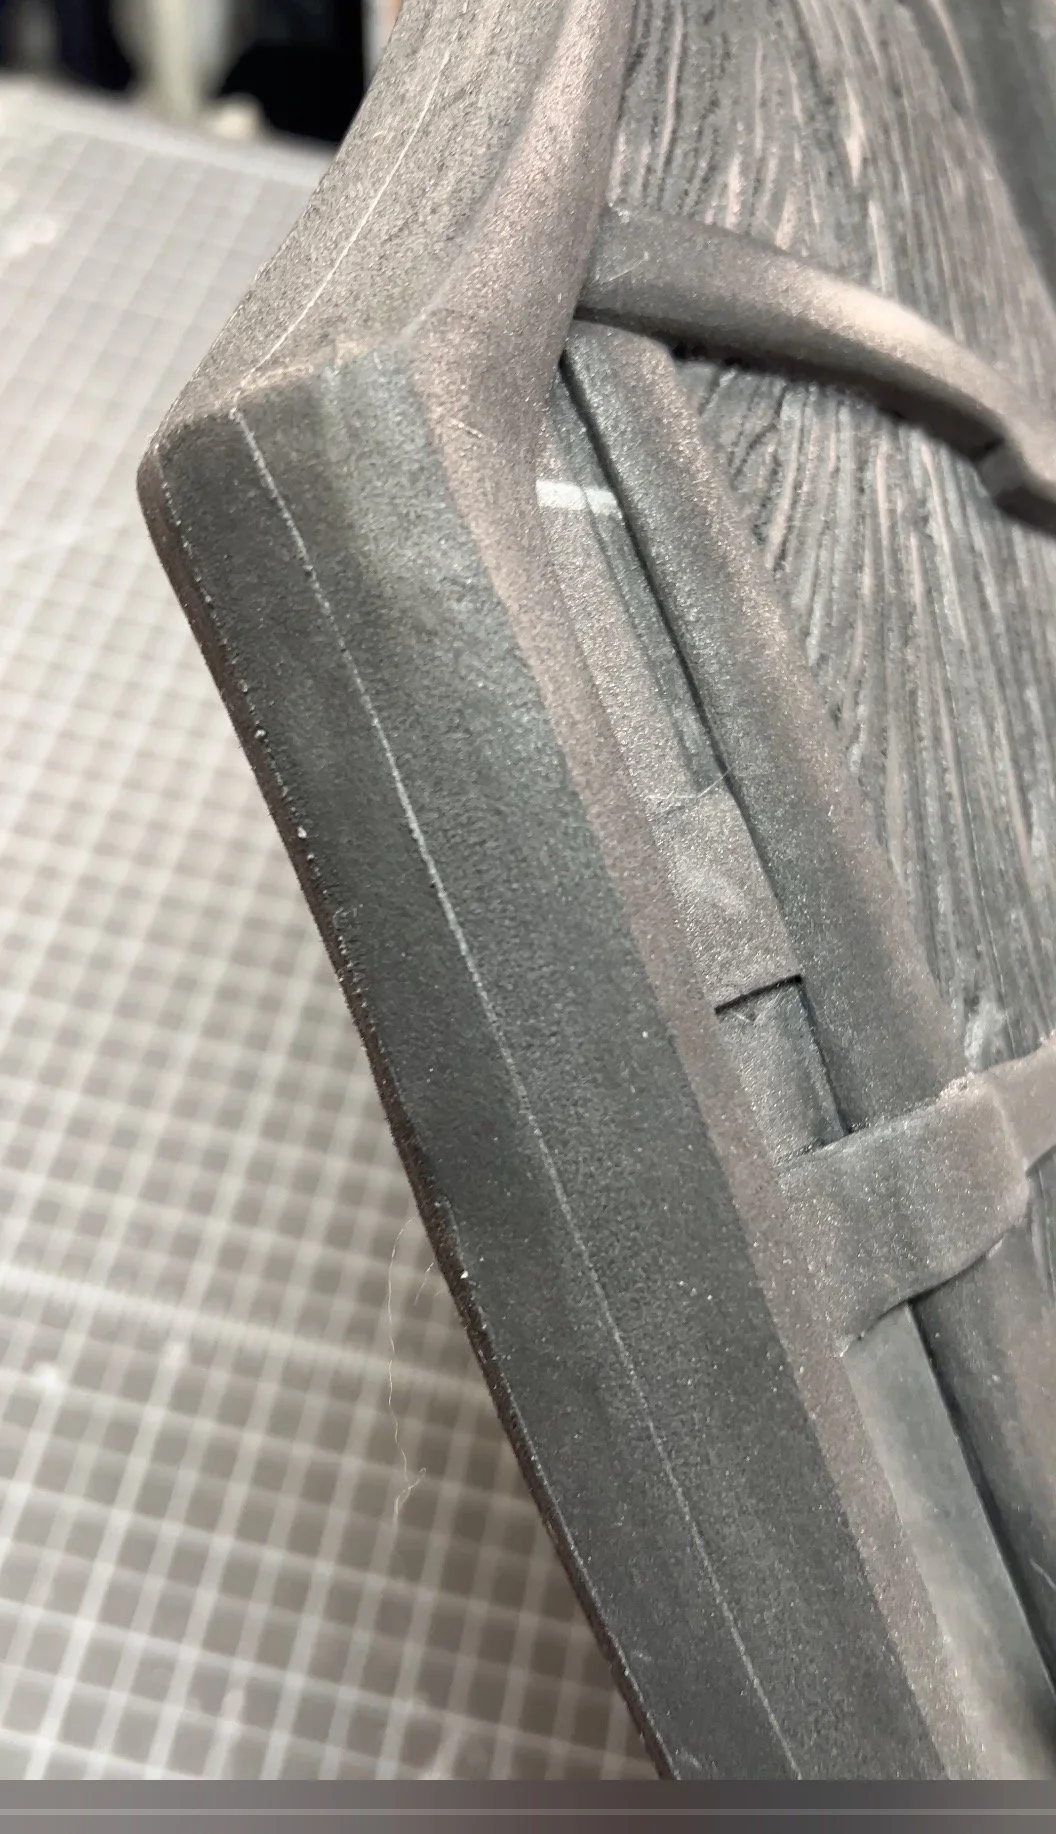
The seams were big and really ugly!

I used Rapid Fill to smooth them out

I used a soft brush to paint on the Rapid Fill

When it dried I could begin sanding and smoothing.

Sanding with sandpaper wrapped around EVA foam to use as a sanding tool.

Then I filled the gaps with Gap Filla.

I used the edge of a rotary tool with a sanding attachment to remove the glue seam

Gap Filla is very thick and will take a while to cure. But the wait is worth it.

Spread around and smoothed out. Just needs to cure.
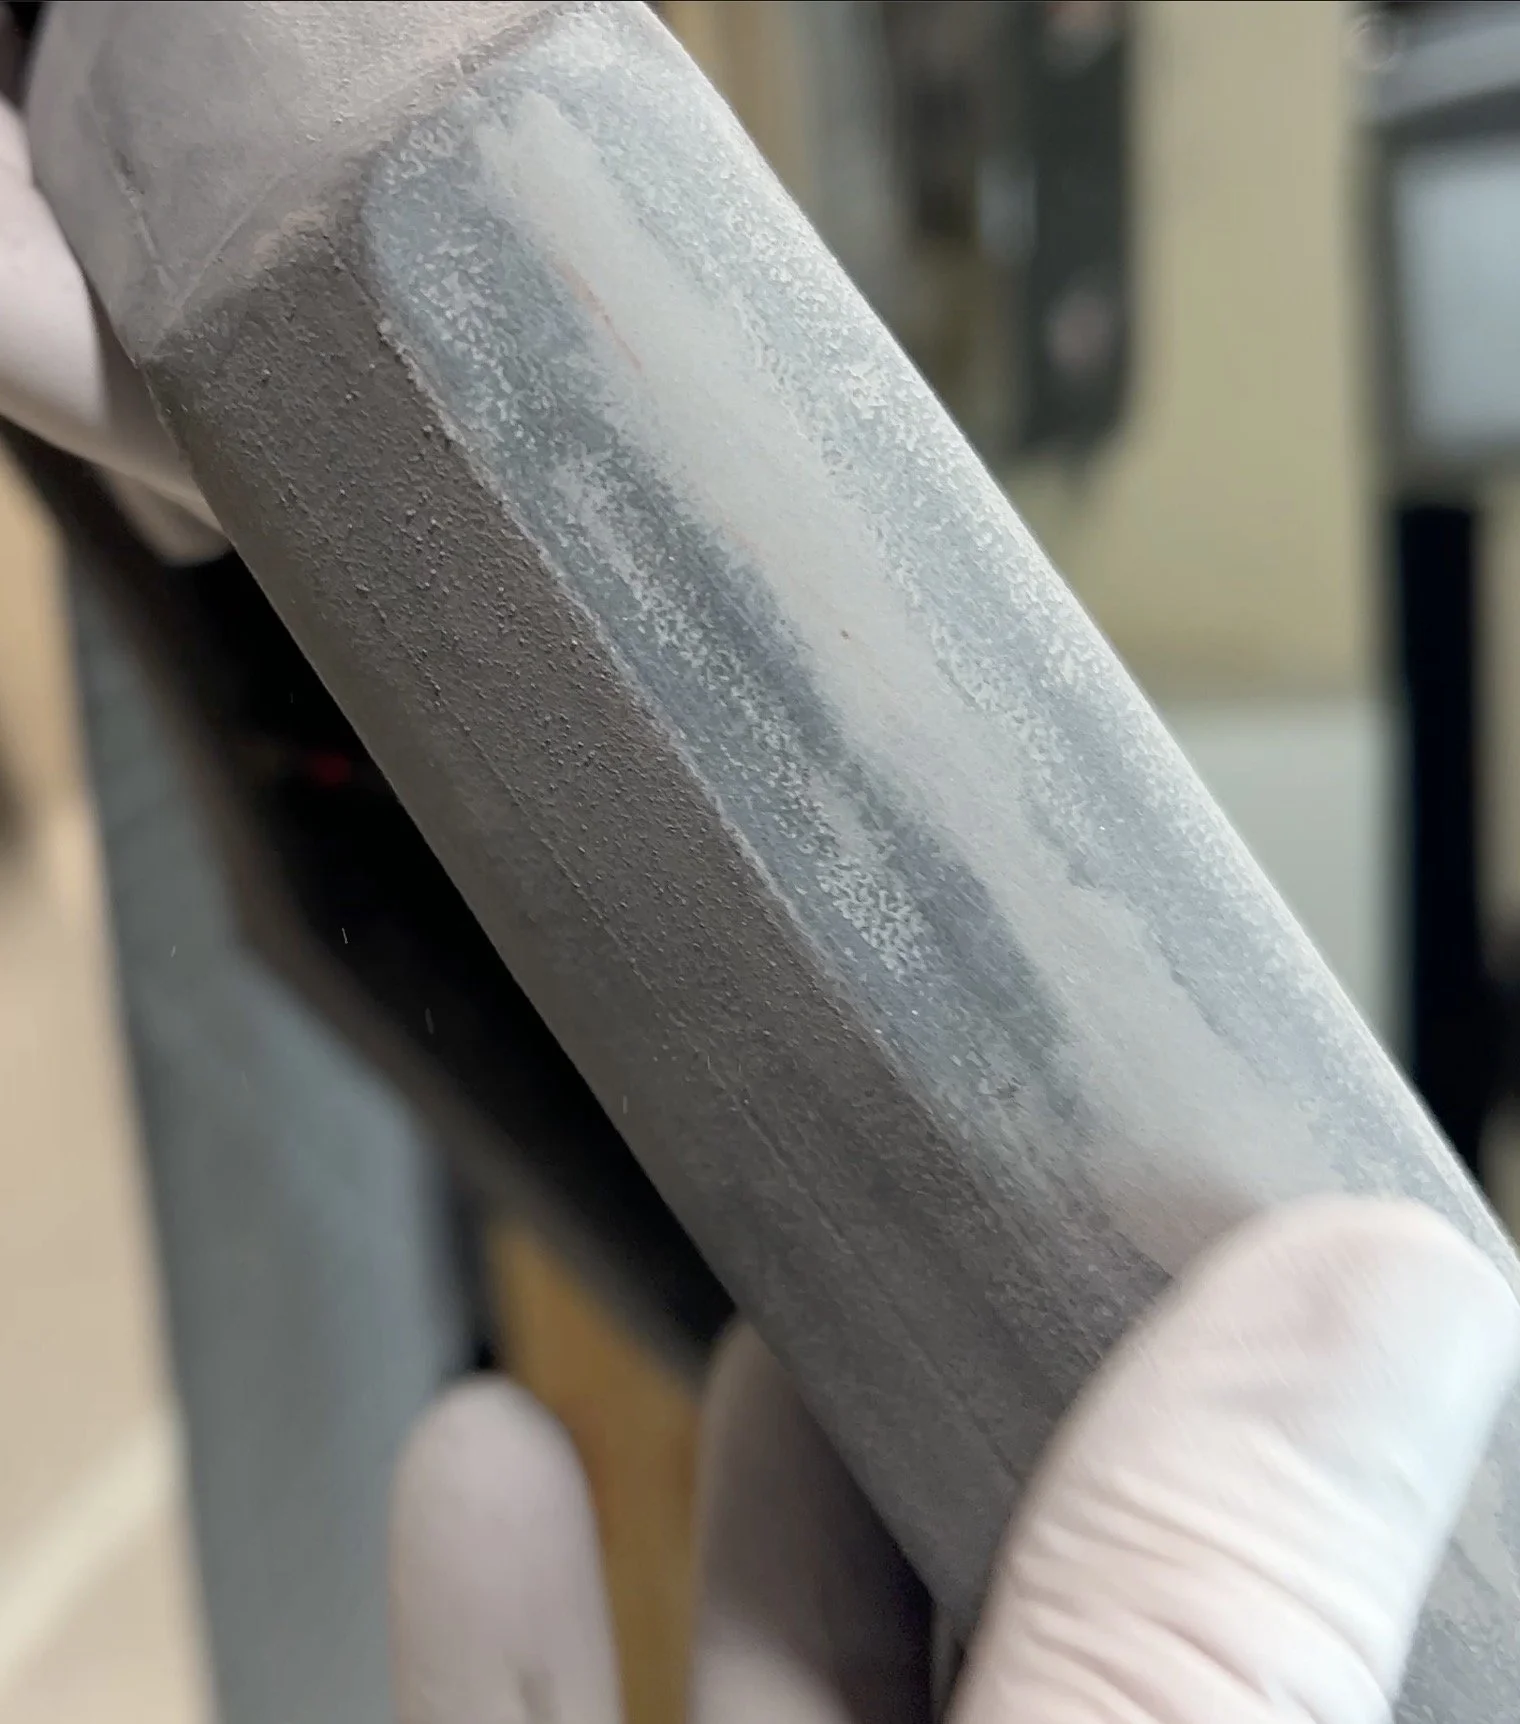
Cured and sanded smooth. Ready for another layer of Rapid Fill or for paint, if you're in a hurry :)
Making the Handle
The handle was a little off-script, but that also made the fabrication process really fun! This will be installed on the shield after everything is painted and cured.

I used odds bits that I had in my shop that I was holding on to because they would "definitely come in handy someday".

Adding more random pieces of carved EVA foam to complete the handle ends.

I cut out small pieces of EVA foam to attach the handle to the base.

This is after it was painted with Plasti Dip - look how shiny!

Wrapping the handle with leather scraps.

Finished and ready to install on the shield!
Ready to Plasti Dip
The shield is ready to paint! I have installed the strap hardware and the plugs for the handle, and I’ve added little studs that will look like rivets when it’s all painted.


Plasti Dip!
For the silver color, I sprayed several layers of Plasti Dip Craft (Armor Color). Look at that shine!
Here is my process for good results when using Plasti Dip:
Spray outside, or in an area with very good ventilation. Always use proper PPE (gloves, respirator).
Place the can in warm water for 15 minutes before spraying.
Shake the can for the recommended amount of time, and frequently when spraying.
The first layer should be thick enough to have a wet, shiny appearance. Additional layers won’t need as much paint, but should also have a shiny, wet surface.
Wait 30 minutes between coats.
Allow to fully cure before handling.
Pro Tips: Follow the directions! You’ll have the best results when you use it during optimal humidity and temperature conditions. These are printed on the label. Use a weather app to find out what your current conditions are. This is an amazing product when used according to the directions.

My setup outside

I'm using Plasti Dip Craft Armor for this shield.

I like to use this attachment to make spraying a little easier on my hands.

Starting to spray!

One good coat later... it's already looking so amazing. I didn't mask off the wood area because Plasti Dip will act as both a paint AND a primer.. and I can work well with that!

The subsequent layers are always enough to create a "wet" look. It will lose this shine as it cures, but the satin result is very nice.

The finished result! It's so shiny!
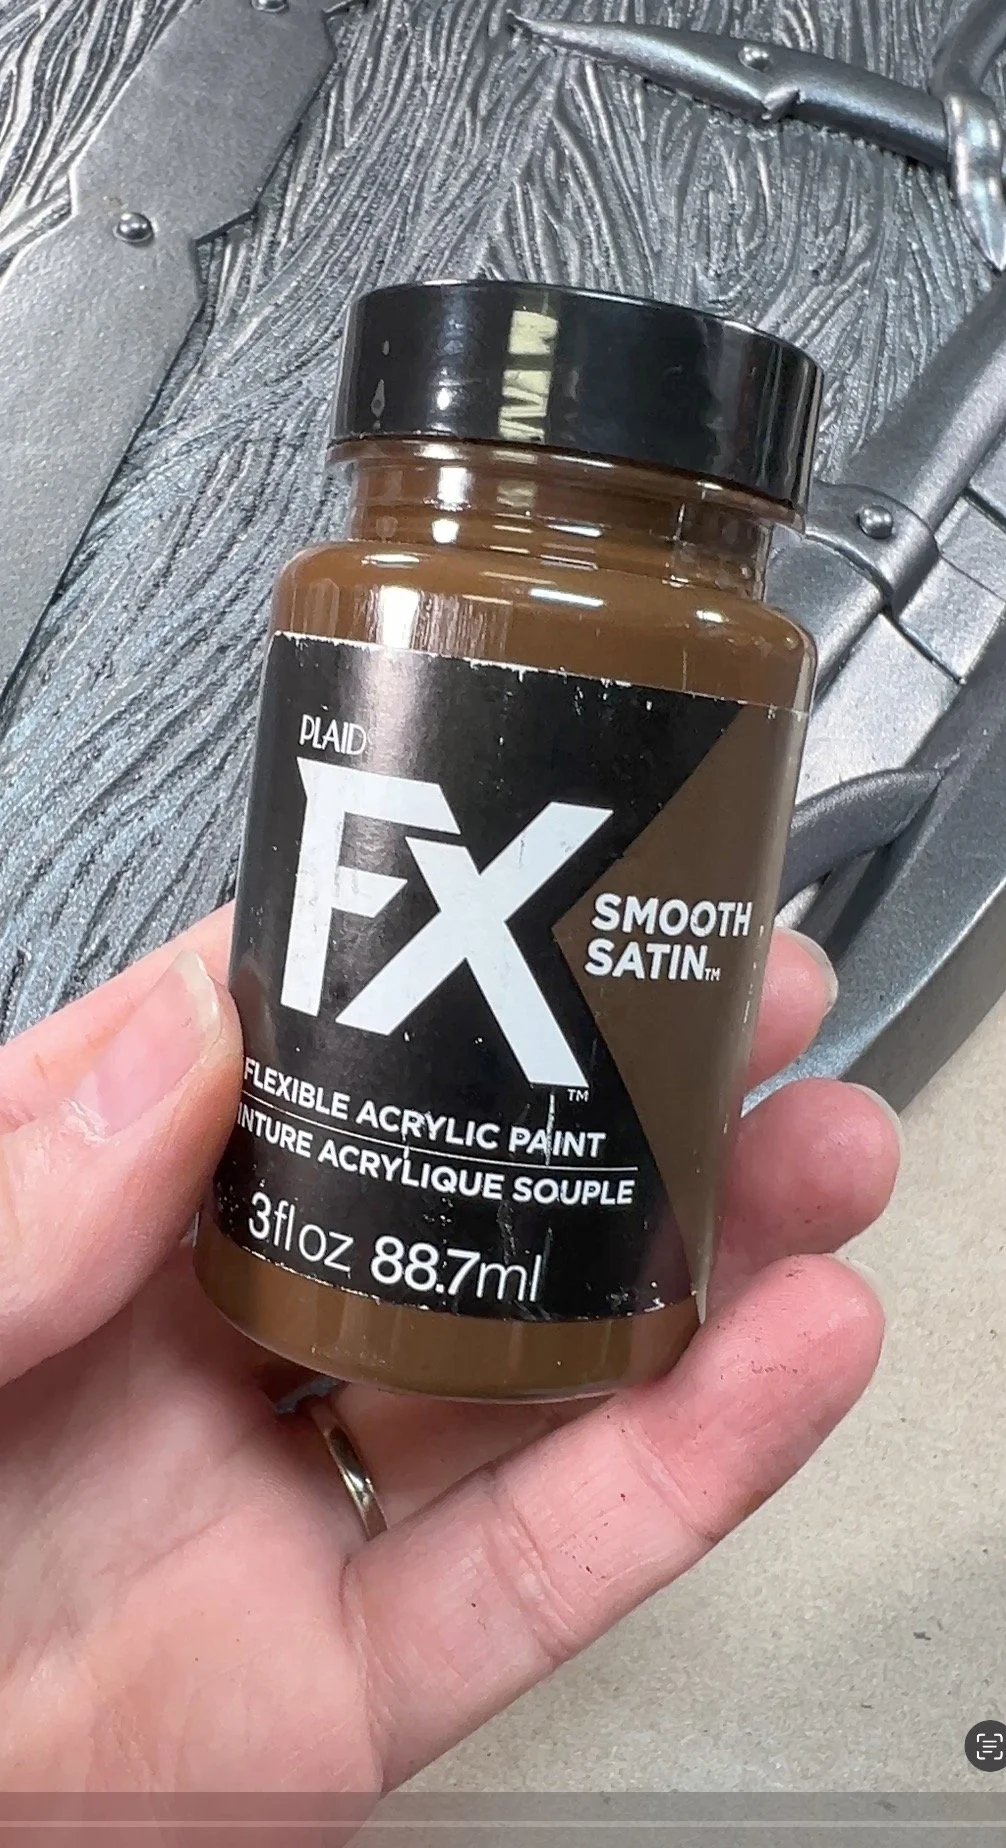
Painting the Wood Texture
I combined two shades of brown acrylic and black to use for the wood texture. After painting several layers, I added a black wash to make the highlights really pop.


Final Reveal Photos
This shield is the PRETTIEST shield I’ve ever made! I really, really love how shiny the Plasti Dip Craft Armor is, and I think it’s the perfect compliment to my Lae’zel costume. I hope that you are inspired to create something fun using these techniques and products!